
No matter who you are, if you are doing business of some sort, chances are, at some point you will need business cards. There are a few options of getting business cards : hiring a designer to create a business card design for you, buying a business card template from websites like We Sell Design, Creative Market, Graphic River or you can design your own business cards.
The last option requires some Photoshop knowledge and that is what this business card tutorial covers, designing a simple, modern business card template in Photoshop.
Step 1 – Size, bleed edges, color mode and resolution
The first thing you will need is obviously Photoshop. The second thing is a basic knowledge of business cards, what does one include, and, most importantly its size. Size varies depending on the geographical location mostly, but the most common size, and the one we will be referring to is 3.5 x 2 inches. Wikipedia has a great entry on business cards. It covers a bit of history, design, size information, special formats, software and more.

As you can see we will be working with CMYK Color mode instead of RGB. In general print work is made in CMYK color mode and web work is made in RGB color mode. The color depth we will use is 8-bit, but you can just as easily use 16-bit or 32-bit. 16-bit is the recommended depth, but for demonstration purposes we will use 8-bit. It’s a bit easier to work with as the file size is smaller. Also the standard resolution for print work is 300+ dpi. This gives it the needed clarity needed for the printing to be according to the industry sttandards.
You may notice the size is not 3,5 x 2 inches as discussed previously, it’s slightly larger. This is because we need to leave some margins, called bleed edges for the printing machine. The standard bleed edges are of 0.125 inches all around, and thus the file size of 3.75 x 2.25 inches.
Now that we have established these things we can start the design process. For that we will establish some guidelines and symmetry lines that will aid us place the design elements better.
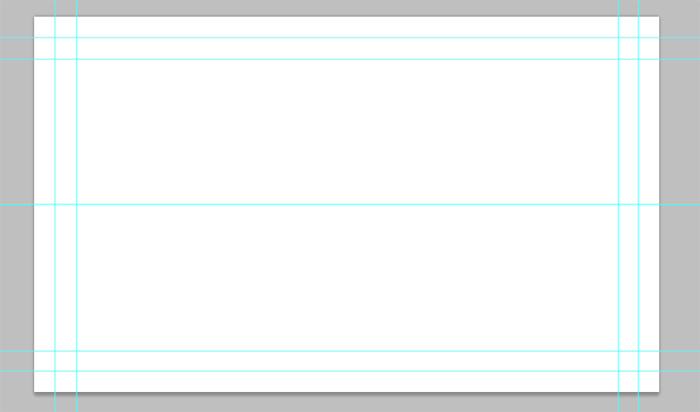
To ease this step for you you can download the blank PSD template with the guide lines included from here.
Step 2 – The Design
For the design you need to have some basic idea on how would you like your business card to look. Some designers use sketches to help them better envision their design. I have a pretty good idea regarding the design I am going to do for this tutorial, so we will skip the sketches.
If you don’t have an exact idea about your design, there are tons of business card inspiration websites, such as : The Design Inspiration, Card Nerd, Card Gala, Cardonizer, Cards Observer, Creattica, Cardview. These are great sources of inspiration and should give you quite a few ideas to start from.
For this tutorial I will be using some flat design principles as it’s pretty trendy right now. This will give the card a simple, yet modern look.
I will design the front and back sides separately. The front side will basically include a business logo included in a simple design and the back side will integrate the business details.
The Front Side
Flat design has a pretty minimalistic approach, nothing to fancy, no shadows, gradients, or fill effects, just simple, carefully selected colors. For the color palette I will use the flat design palette from here.
We will be using a bold green color, called “Emerald” with the hex code #2ecc71
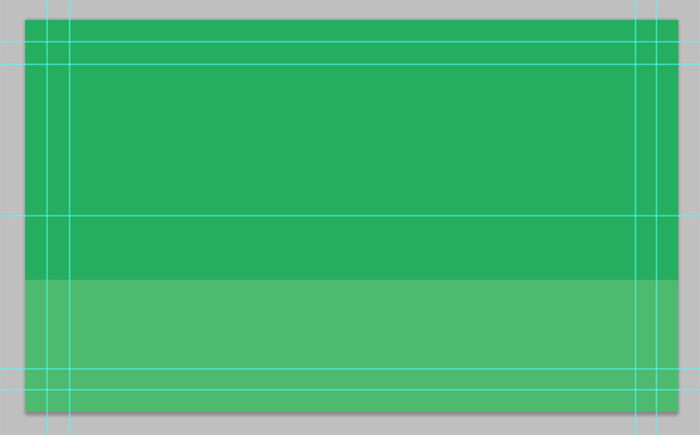
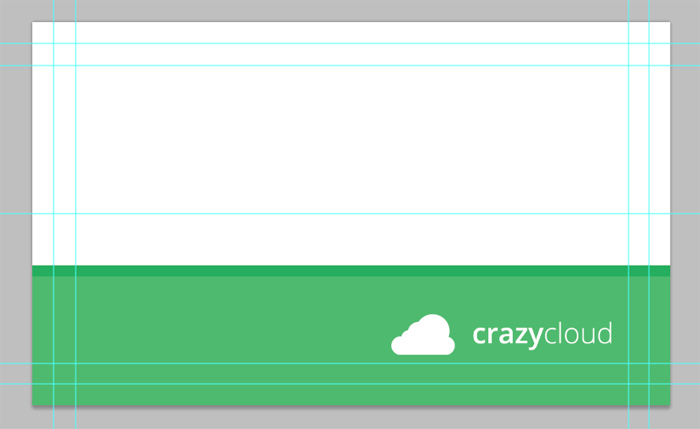
We’ll start off by drawing a rectangle with the Emerald (#2ecc71) color on the lower half of the front side. The height of the rectangle is about 1/3 of the entire height. For the upper side of the business card front we will use another color similar to Emerald, #27ae60 . The two colors complement each other really well. We will use this color for a rectangle as big as the rest of the front side.
For the logo we will use one of the logos from our stock collection on We Sell Design.
![]()
The logo is available in AI and EPS file formats, so you will need Adobe Illustrator to make the following edits to it. We use this logo for demonstration purposes. you can use any logo you wish.
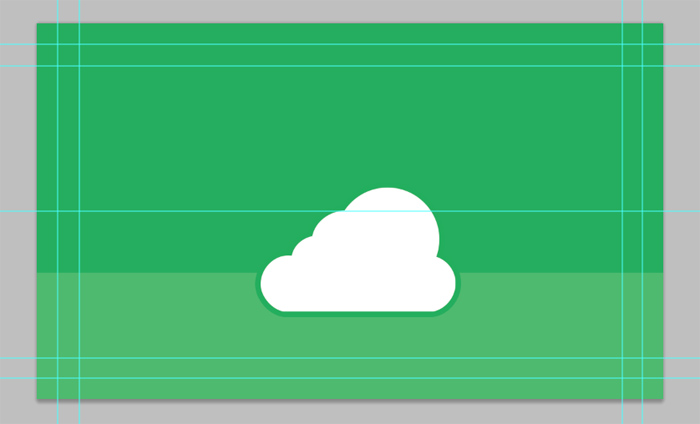
We have edited the logo above so it will serve our design purpose better.
With the logo integrated, the front side looks like this.
What we have done is :
- made the logo simpler so it will fit the design style
- give it a simple white background
- add a stroke of 10px with the color in the upper square : #27ae60
In a new layer add the company text below the logo. The color we are using is the same as the logo, #ffffff. The font we are using is Open Sans. Is an open source Google Web Font you can use freely for your designs (download here).

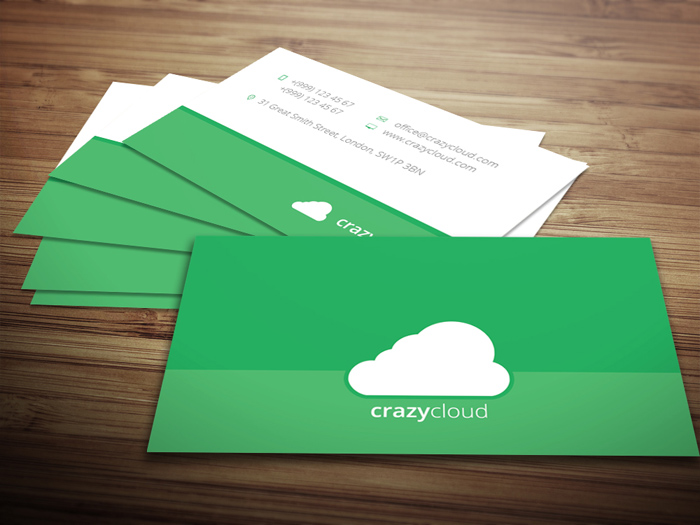
Well, that’s about it for the front side. Everything is simple, yet elegant and modern.
We need to integrate the business details, and we will do that on the back side.
The Back Side
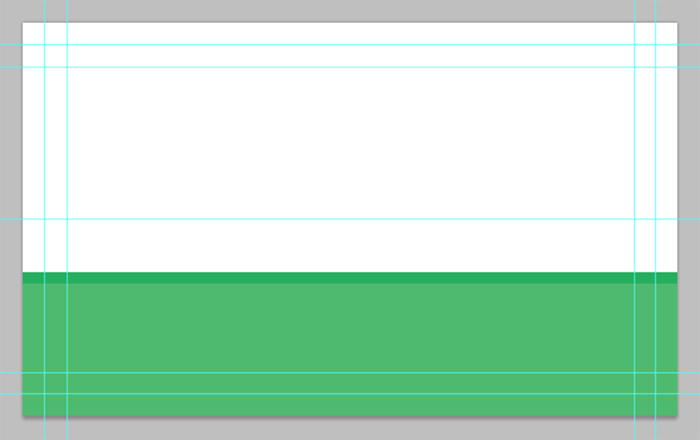
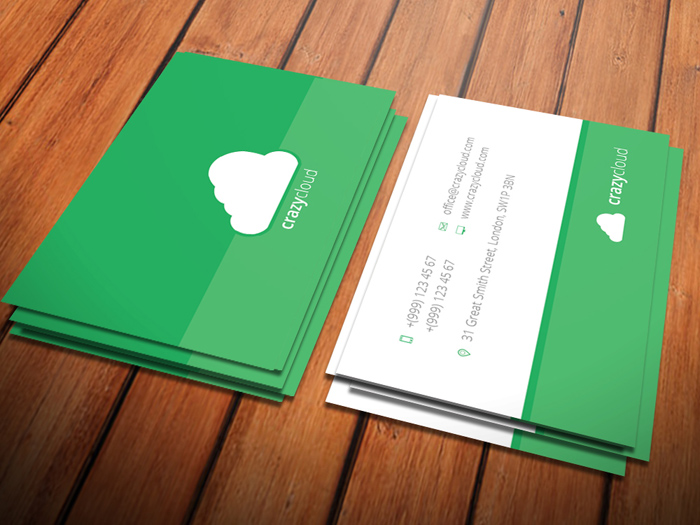
For the back side we will use the bottom Emerald rectangle we used on the front side, and shrink the upper rectangle to a stripe. The colors remain the same. Also the logo will be removed for now. So, to summarize the back side will start from this :
To give it a bit more identity we are going to also include the logo on the back side. We are going to use a horizontal positioning between the logo symbol an the text this time.
For the email, website, telephone and address symbols we will use the outline icons from Vandelay Design. The icons as they are, they’re black in color. We want to make them the same color as the green stripe we are using. For this you can right click on the icon layer -> Blending Options -> Color Overlay and choose the color we mention before (#27ae60).
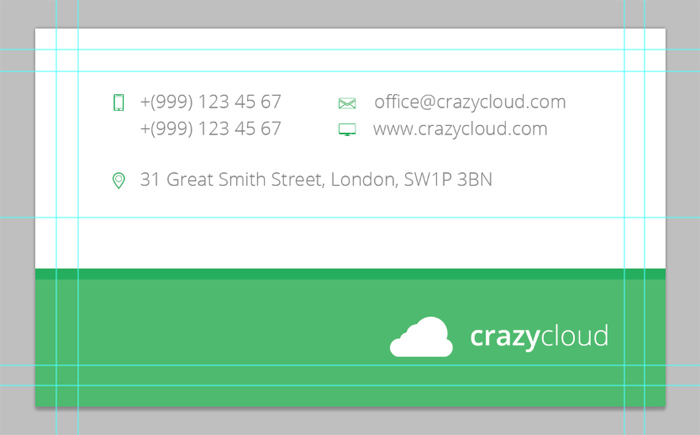
For the text of the business details we can use the same green color or a beautiful shade of gray, that complements well the green used in the business card. We choose to use a shade of gray (#868686).
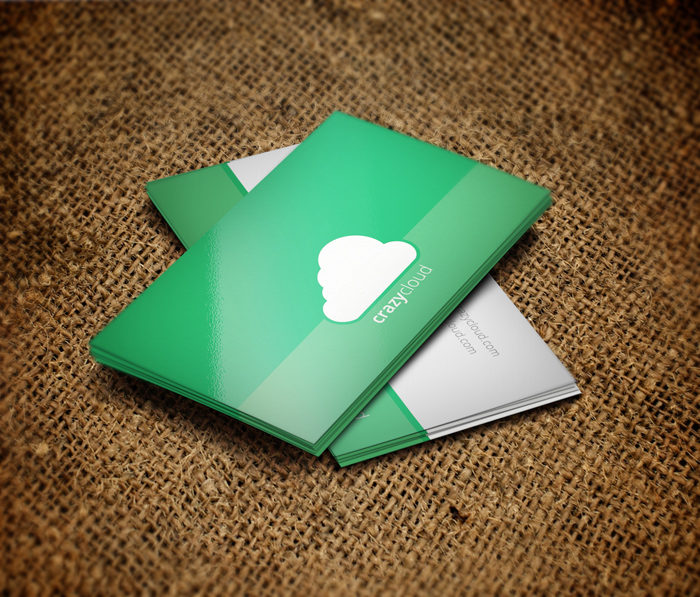
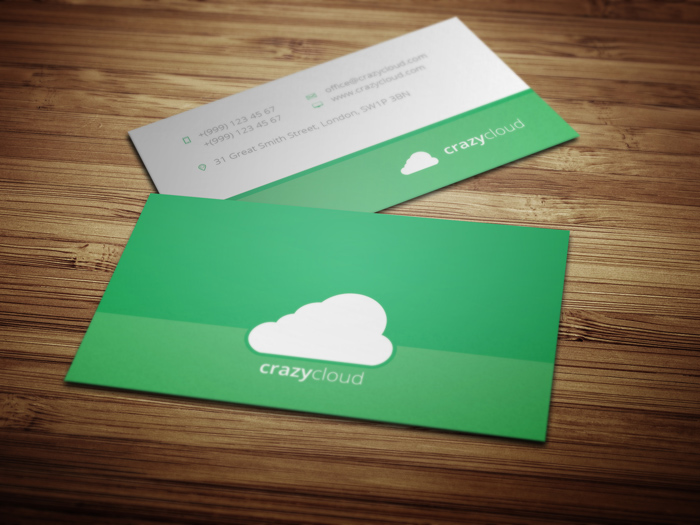
The final look of the business card is shown below.
Step 3 – Printing your business cards
Now that you are done with the design, it’s time to print them and have them physically so you can start handing your business cards down. There are a few options for printing. Of course you can print them on your own, but for that you would need the right paper and you will probably encounter numerous alignment challenges. The easier way is to have the printed and delivered to you.
Now there are lots of printing companies out there and many of them are good. If it were for me to make a recommendation I would recommend Youprint.
Well, that’s about it. As you can see, designing your own business cards isn’t all that hard. With a bit of patience, and Photoshop know-how it can be done in a matter of hours, and what’s great is that once you have the design, you can print them over and over again.
Get the PSD file
If you like the template we created for this tutorial you can get it from We Sell Design using the link below.
[button-green url=”http://www.weselldesign.com/flat-design-business-card-template/” target=”_self” position=”left”] Flat Business Card Template by We Sell Design [/button-green]

Loading…